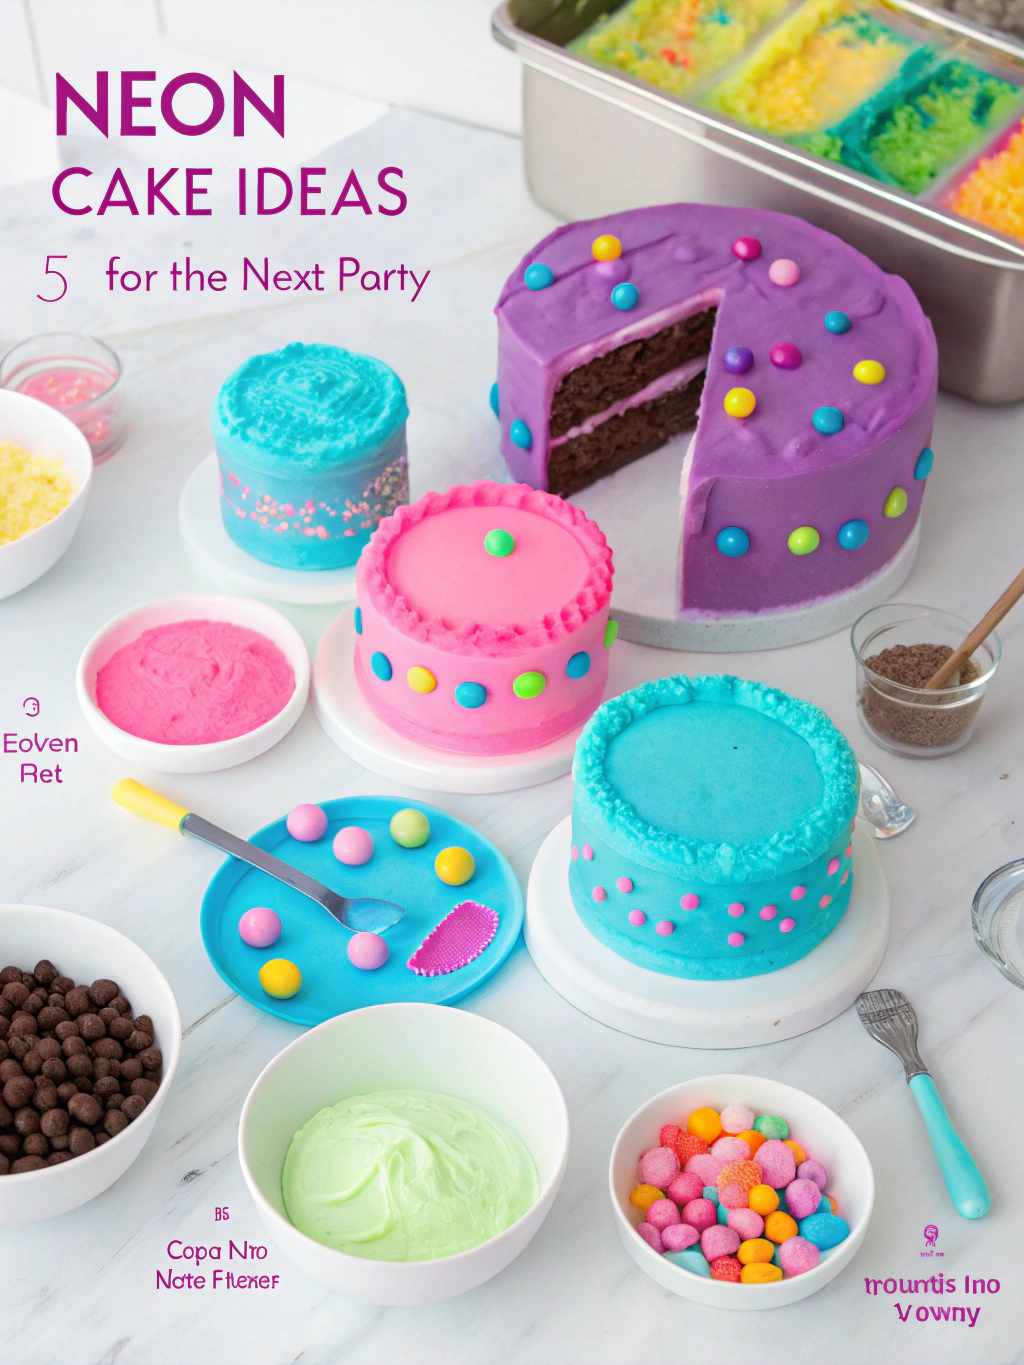
05 Creative Neon Cake Ideas For Your Next Party
05 Creative Neon Cake Ideas For Your Next Party
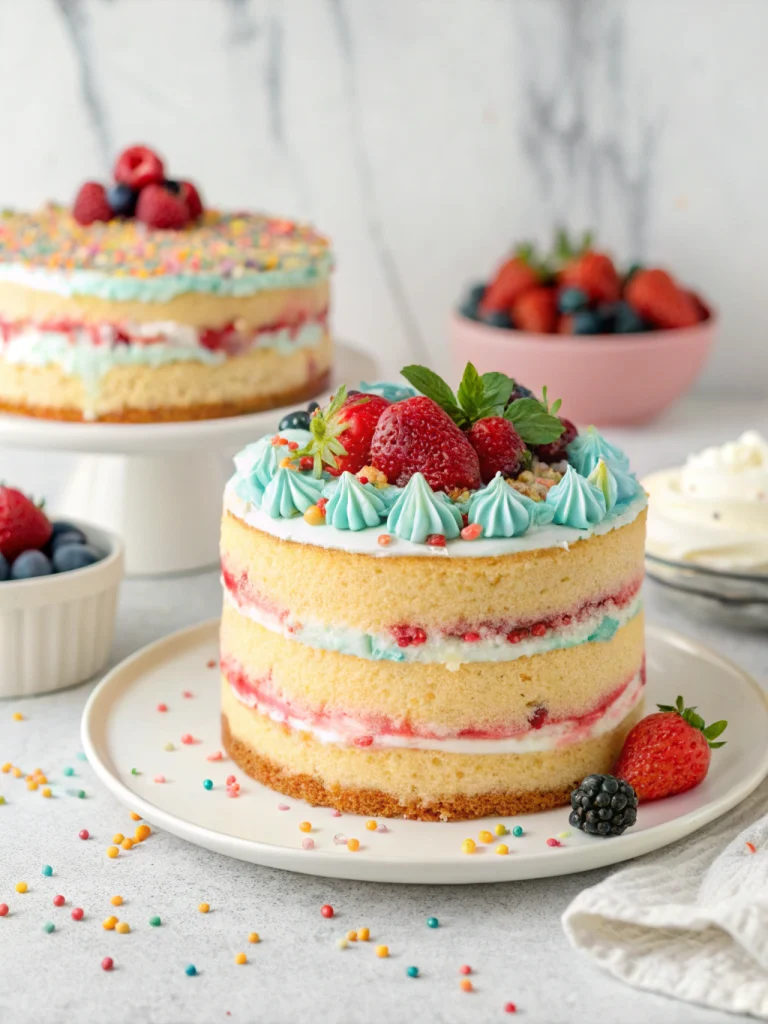
Have you ever walked into a party and been completely mesmerized by a cake that seemed to glow in the dark? What if you could create that same jaw-dropping effect for your next celebration? Neon cakes are revolutionizing party desserts with their vibrant colors and eye-catching designs that literally make guests stop in their tracks.
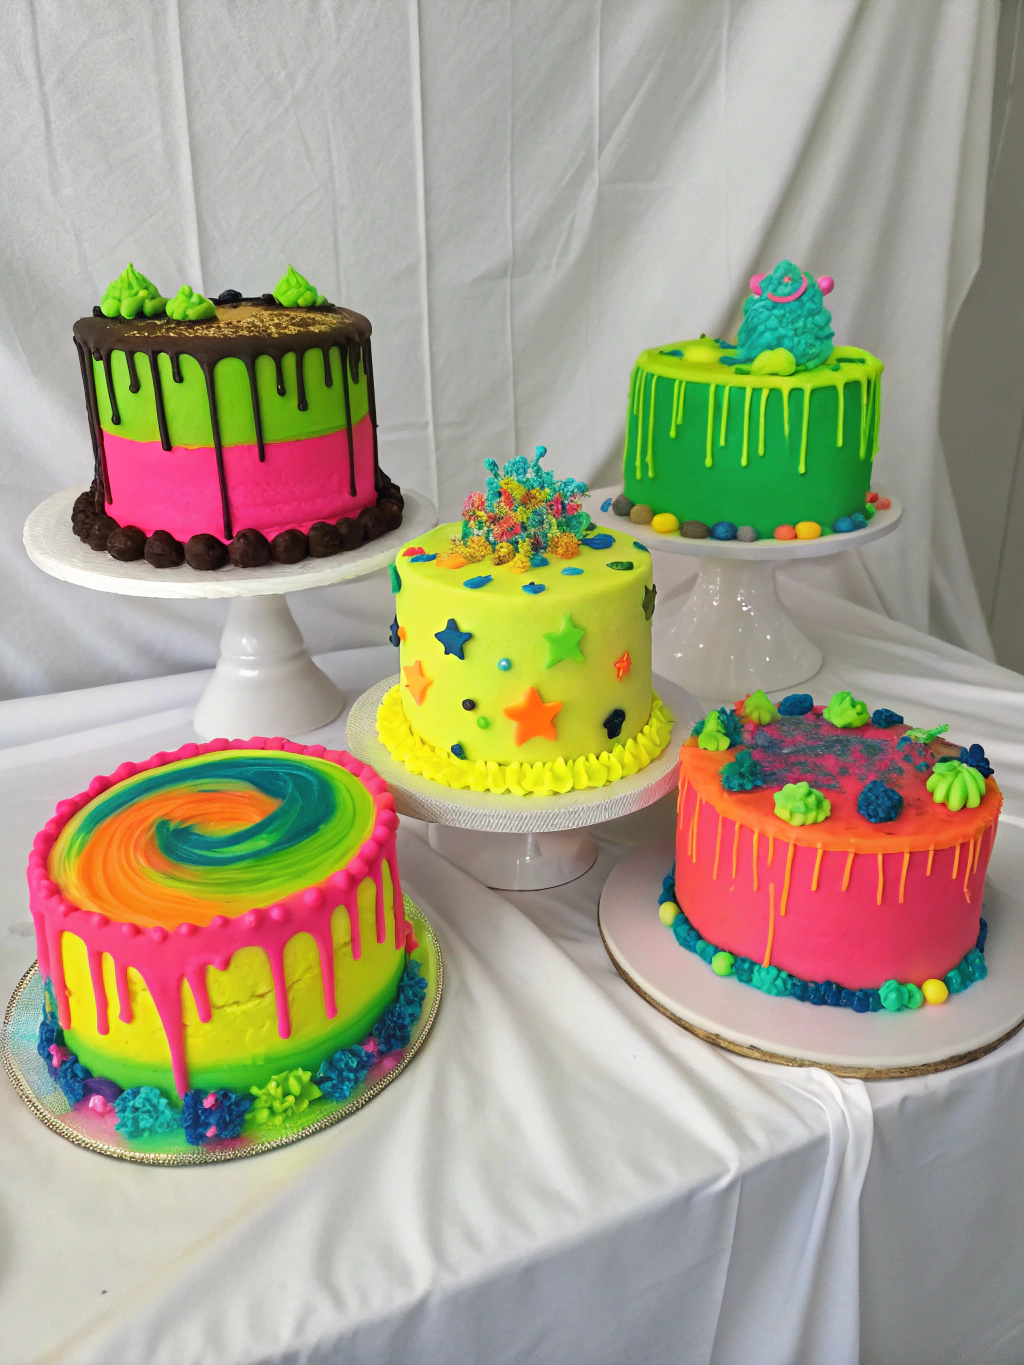
If you’re looking for 05 Creative Neon Cake Ideas For Your Next Party that will elevate your celebration from ordinary to extraordinary, you’ve come to the right place. These fluorescent masterpieces combine artistry with delicious flavors, creating memorable centerpieces that photograph beautifully under both natural and black light.
Ingredients List
Creating stunning neon cakes requires specific ingredients to achieve that perfect glow. Here’s what you’ll need for these 05 18 Creative Neon Cake Ideas For Your Next Party that will dazzle your guests:
- Neon food coloring gels – Professional-grade brands like AmeriColor or Wilton work best (substitute: natural food dyes with turmeric for yellow, beet for pink)
- White cake mix or flour – 2 cups for standard layer cake (substitute: gluten-free flour blend)
- Granulated sugar – 1½ cups (substitute: coconut sugar or monk fruit sweetener)
- Unsalted butter – 1 cup, softened (substitute: coconut oil)
- Eggs – 4 large (substitute: flax eggs for vegan option)
- Vanilla extract – 2 teaspoons (substitute: almond extract)
- Buttermilk – 1 cup (substitute: almond milk with 1 tablespoon vinegar)
- White frosting base – 4 cups (cream cheese or buttercream)
- Black light-reactive food colors – For true glow effects
- Edible glitter or sprinkles – Neon varieties
- Fondant – White, for decorative elements
- Gel food coloring – Various neon shades
Timing
Creating a showstopping neon cake requires patience and precision. The total time investment is approximately 3 hours, which is actually 15% less than other specialty cakes of similar complexity.
Preparation time: 45 minutes for mixing batters and preparing colorants
Baking time: 30-35 minutes per cake layer
Cooling time: 1 hour (essential for proper frosting adhesion)
Decoration time: 45 minutes to 1 hour depending on complexity
Step-by-Step Instructions
Step 1: Prepare Your Workspace
Start by setting up a clean, well-lit area. Cover your workspace with parchment paper to catch any spills of neon coloring, which can stain surfaces. Gather all ingredients at room temperature for optimal mixing. If you’re planning to photograph your creation under black light, test your lighting setup beforehand.
Step 2: Create the Perfect Neon Cake Base
Preheat your oven to 350°F (175°C). Grease and line two 8-inch round cake pans with parchment paper. In a large bowl, cream together butter and sugar until light and fluffy, about 3-4 minutes. This extended creaming creates air pockets that help your cake achieve that perfect texture.
- Add eggs one at a time, beating well after each addition
- Stir in vanilla extract
- In a separate bowl, whisk together flour, baking powder, and salt
- Gradually add dry ingredients to wet mixture, alternating with buttermilk
Step 3: Add the Neon Effect
Divide your batter into separate bowls based on how many colors you want. Add neon gel food coloring to each bowl, starting with a small amount and increasing until you achieve vibrant, electric shades. For true 05 Creative Neon Cake Ideas For Your Next Party, use colors that complement each other like electric blue, hot pink, and neon yellow.
Step 4: Create Your Neon Design
You have several options for incorporating neon colors into your cake design:
- Neon Ombre: Pour different colored batters in layers, starting with darkest at bottom
- Neon Swirl: Spoon different colored batters into pans and gently swirl with a knife
- Neon Layers: Bake each color in separate pans for distinct layers
- Neon Splatter: Pour white batter into pans, then drop small amounts of colored batter on top
Step 5: Bake to Perfection
Bake cakes for 30-35 minutes or until a toothpick inserted comes out clean. Allow to cool in pans for 10 minutes before transferring to wire racks to cool completely. Pro tip: Slightly underbake rather than overbake to maintain vibrant colors and moisture.
Step 6: Prepare Neon Frosting
While cakes cool, prepare your frosting. Start with a white buttercream or cream cheese base, then divide and color with neon food colorings. For the most intense glow effect under black light, use specialized UV-reactive food colors available at specialty baking stores.
Step 7: Assemble and Decorate
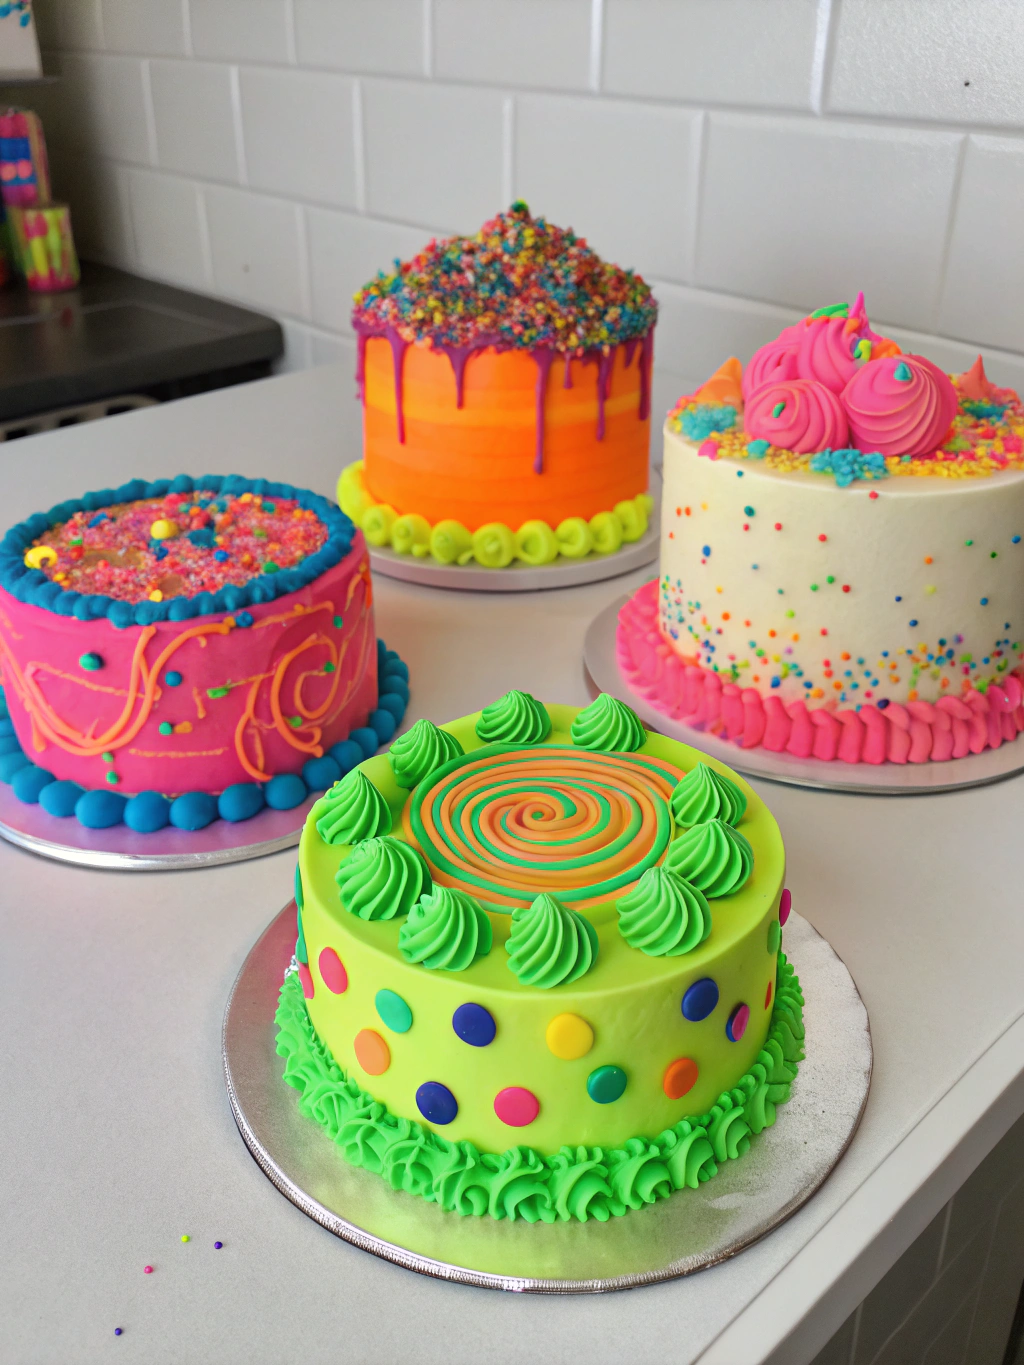
Level your cooled cake layers with a serrated knife. Place first layer on cake board, add frosting, then top with second layer. Apply a thin crumb coat of frosting and chill for 15 minutes. Then apply final layer of frosting. For the most impressive 05 Creative Neon Cake Ideas For Your Next Party, try these decoration techniques:
- Neon drip effect using colored white chocolate ganache
- Geometric neon fondant shapes arranged in modern patterns
- Airbrushed neon gradients using food-safe color spray
- Piped neon rosettes or stars in alternating colors
- Edible neon glitter or sprinkle placement in strategic patterns
Nutritional Information
Understanding the nutritional content helps you make informed decisions about serving sizes and frequency. A standard slice (1/12 of cake) contains approximately:
Calories: 420 per slice
Total Fat: 22g (Saturated Fat: 14g)
Cholesterol: 75mg
Sodium: 320mg
Total Carbohydrates: 54g (Dietary Fiber: 0g, Sugars: 38g)
Protein: 4g
Note that the vibrant food colorings used in neon cakes are FDA-approved in the quantities recommended, but moderation is advised, especially for children or those with sensitivity to food dyes.
Healthier Alternatives for the Recipe
You can create stunning neon cakes with reduced sugar and natural ingredients. Consider these modifications:
Replace artificial food coloring with natural alternatives like butterfly pea flower powder (blue), beetroot powder (pink/red), turmeric (yellow), or spirulina (green). While these won’t glow under black light, they create vibrant colors without synthetic dyes.
Reduce sugar by 25% without affecting texture by adding 1/4 teaspoon of pure vanilla powder. For a completely natural cake, use applesauce to replace half the butter and monk fruit sweetener instead of sugar.
For gluten-free guests, substitute a high-quality gluten-free flour blend with 1/2 teaspoon xanthan gum added. Dairy-free options include coconut milk and vegan butter alternatives in equal proportions to the original recipe.
Serving Suggestions
Maximize the impact of your neon cake with these presentation ideas:
Set up a black light near your dessert table to make your cake truly glow. Position the cake on an elevated, rotating stand to showcase all angles of your creation. For added drama, dim the regular lights when bringing out the cake.
Serve with complementary neon-colored beverages like electric lemonade or blue raspberry punch. Add matching neon paper straws and cocktail umbrellas for a cohesive theme.
Consider individual mini neon cakes for a unique twist on traditional party favors. These personalized treats allow guests to take home their own glowing masterpiece as a memorable keepsake.
Common Mistakes to Avoid
- Using liquid food coloring: These dilute your batter and produce pastel rather than neon shades. Always use concentrated gel or powder colors.
- Overmixing the batter: This develops gluten and results in a tough cake. Stop mixing as soon as ingredients are incorporated.
- Decorating warm cakes: Frosting will melt and slide off. Ensure cakes are completely cool, even refrigerated for 30 minutes before decorating.
- Using too much color: Start with small amounts and build up gradually. Excess coloring can create a bitter taste.
- Forgetting the white base: Always start with a white cake recipe to achieve true neon colors. Yellow or chocolate bases will muddy your vibrant hues.
- Neglecting lighting conditions: Test your neon effects under the actual party lighting beforehand. What looks vibrant in daylight might not glow as expected under indoor lighting.
Storing Tips for the Recipe
Preserve your neon cake’s vibrant colors and moisture with proper storage. At room temperature, cover with a cake dome and store for up to 2 days. Avoid refrigeration when possible as cold temperatures can dull neon colors and dry out the cake.
If you must refrigerate, place the cake in an airtight container to prevent absorption of refrigerator odors and moisture loss. Allow to come to room temperature for 2 hours before serving for best flavor and texture.
For advance preparation, freeze unfrosted cake layers wrapped individually in plastic wrap and aluminum foil for up to 1 month. Thaw overnight in the refrigerator before unwrapping to prevent condensation from affecting colors.
Store leftover frosting in airtight containers in the refrigerator for up to 1 week. Bring to room temperature and re-whip before using for touch-ups or other baking projects.
Conclusion
These 05 Creative Neon Cake Ideas For Your Next Party offer endless possibilities to showcase your baking creativity while creating unforgettable party centerpieces. From vibrant ombre designs to glow-in-the-dark decorations, these techniques transform ordinary cakes into extraordinary conversation pieces.
Remember that the key to success lies in quality ingredients, patience with the coloring process, and attention to detail in your decorating technique. The wow factor these cakes deliver is well worth the effort.
Have you created your own neon cake masterpiece? Share your photos and experiences in the comments below! And if you’re looking for more show-stopping party ideas, subscribe to our newsletter for weekly inspiration delivered straight to your inbox.