Birria Quesa Tacos
Birria Quesa Tacos: The Ultimate Mexican Street Food Experience
Have you ever wondered how to recreate that mouthwatering, juicy, and crispy taco experience from your favorite Mexican street vendor right in your own kitchen? The secret might just be mastering the art of Birria Quesa Tacos—a culinary masterpiece that combines slow-cooked, tender meat with melted cheese and a crispy tortilla exterior.
These Birria Quesa Tacos have taken social media by storm, and for good reason. The combination of rich, spiced beef broth, tender shredded meat, and that unmistakable crispy-cheesy texture creates an explosion of flavors that’s simply irresistible.
Today, I’m sharing my perfected recipe that brings authentic Mexican flavors right to your dining table. This dish might look intimidating, but with my step-by-step guide, you’ll be serving up restaurant-quality tacos in no time.
Ingredients List
For the Birria:
- 3 pounds beef chuck roast (or a combination of chuck and short ribs for extra flavor)
- 4 dried guajillo chilies, stems and seeds removed
- 2 dried ancho chilies, stems and seeds removed
- 1 chipotle pepper in adobo sauce (adjust to your spice preference)
- 1 large white onion, quartered
- 6 garlic cloves, peeled
- 1 tablespoon dried oregano (Mexican oregano preferred)
- 1 teaspoon ground cumin
- 1/2 teaspoon ground cinnamon
- 2 bay leaves
- 1 tablespoon apple cider vinegar
- 4 cups beef broth
- 2 tablespoons vegetable oil
- Salt and pepper to taste
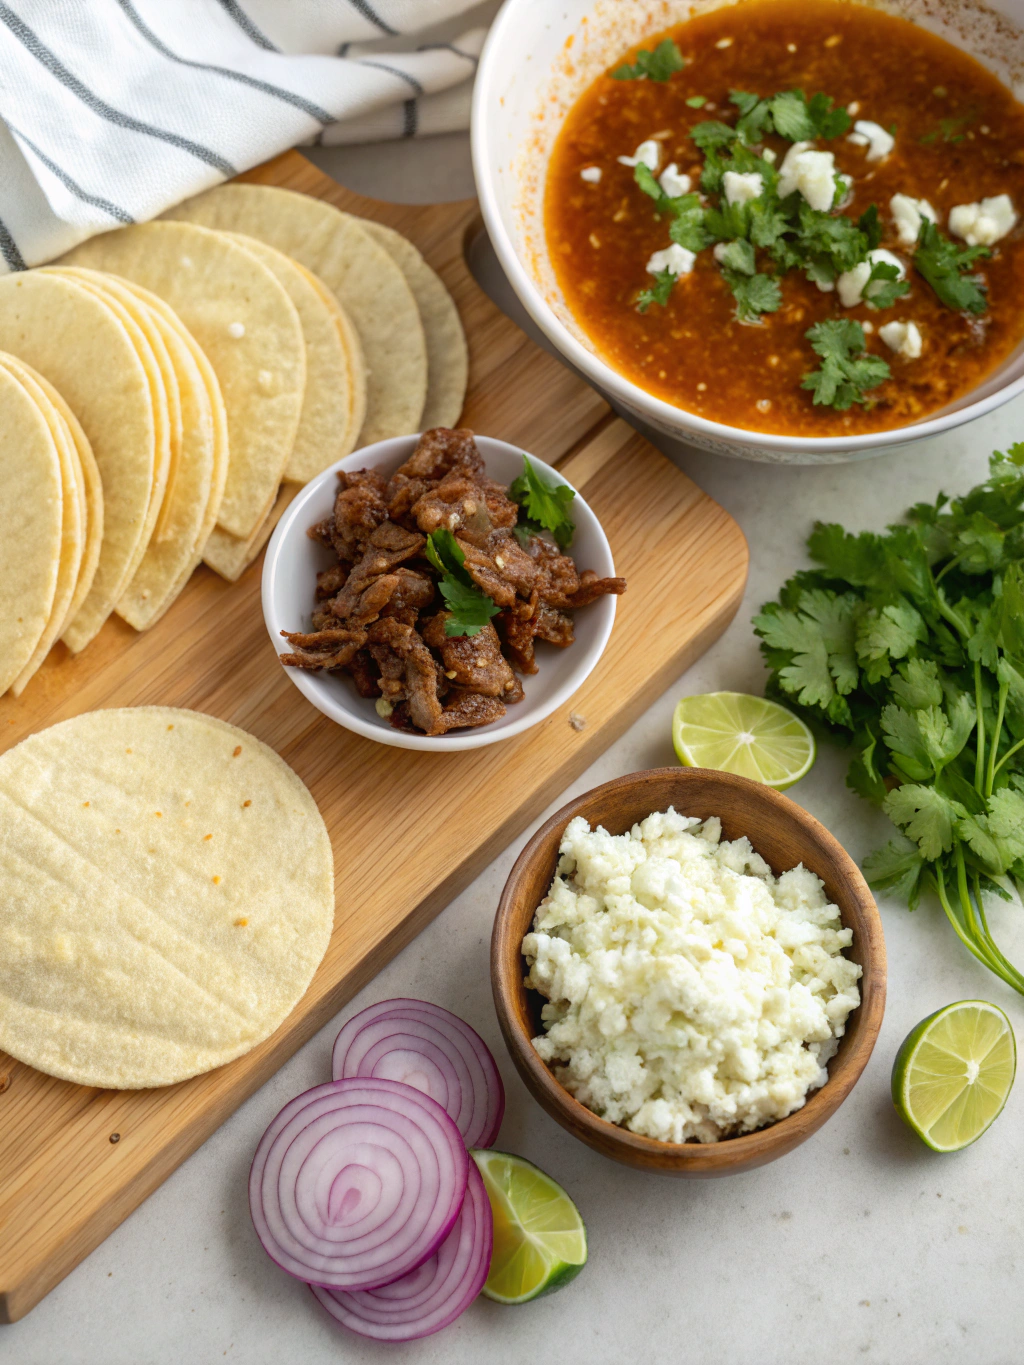
For the Tacos:
- 12-16 corn tortillas (small size)
- 2 cups Oaxaca cheese or Monterey Jack, shredded
- 1 cup white onion, finely diced
- 1 cup fresh cilantro, chopped
- 2-3 limes, cut into wedges
Substitution Tips: No dried chilies? Use 3-4 tablespoons of chili powder instead. Oaxaca cheese can be replaced with mozzarella or a mix of mozzarella and cheddar for that perfect stretchy texture.
Timing
Preparation Time: 30 minutes (plus 20 minutes for toasting chilies and preparing spices)
Cooking Time: 3 hours for the birria (can be reduced to 45 minutes with a pressure cooker, saving you 75% of traditional cooking time)
Assembly Time: 20 minutes
Total Time: Approximately 3 hours 50 minutes (much of it hands-off, allowing you to multitask)
Step-by-Step Instructions
Step 1: Prepare the Chilies
Heat a dry skillet over medium heat. Toast the dried guajillo and ancho chilies for 2-3 minutes, turning occasionally, until they become aromatic but not burnt. Remove from heat and place in a bowl. Cover with hot water and let soak for 20 minutes until soft and pliable.
Step 2: Season and Sear the Meat
Cut the beef into large chunks (about 3-4 inches). Season generously with salt and pepper. Heat vegetable oil in a large Dutch oven over medium-high heat. Working in batches to avoid overcrowding, sear the meat on all sides until well-browned, about 3-4 minutes per side. Transfer the meat to a plate and set aside.
Step 3: Create the Birria Sauce
Drain the soaked chilies, reserving 1/2 cup of the soaking liquid. In a blender, combine the soaked chilies, chipotle pepper, garlic, onion quarters, oregano, cumin, cinnamon, apple cider vinegar, and the reserved soaking liquid. Blend until smooth, creating a rich, aromatic paste.
Step 4: Slow Cook the Birria
Return the seared meat to the Dutch oven. Pour the chili paste over the meat, add bay leaves, and pour in the beef broth. The liquid should just cover the meat. Bring to a boil, then reduce heat to low. Cover and simmer for 3 hours, or until the meat is fork-tender and easily shreds.
Step 5: Shred the Meat
Once the meat is tender, remove it from the broth and shred it using two forks. Return about half of the shredded meat to the broth and keep the other half separate for filling the tacos. Taste the broth (consomé) and adjust seasoning if needed.
Step 6: Assemble and Cook the Birria Quesa Tacos
- Heat a large skillet or griddle over medium heat.
- Dip a corn tortilla into the top layer of the birria consomé (the fat-rich part) on both sides.
- Place the dipped tortilla on the hot skillet.
- Add a generous pinch of shredded cheese to one half of the tortilla.
- Top the cheese with a spoonful of the reserved shredded meat.
- When the cheese begins to melt, fold the tortilla in half to create a taco shape.
- Cook for 1-2 minutes per side until crispy and golden brown.
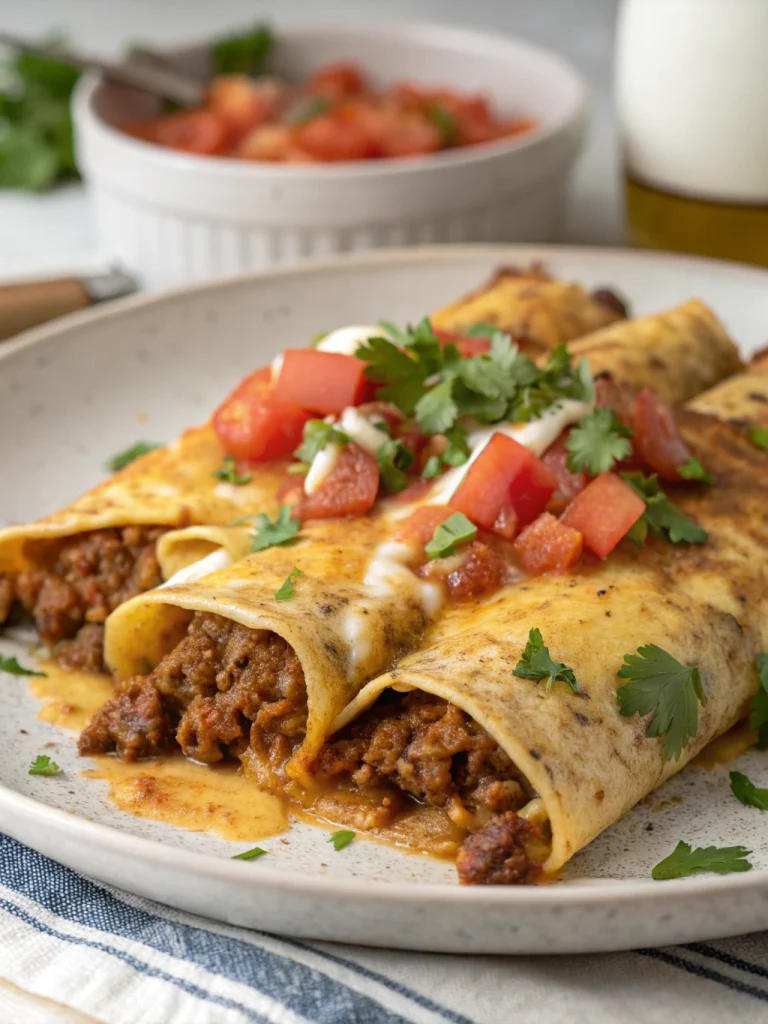
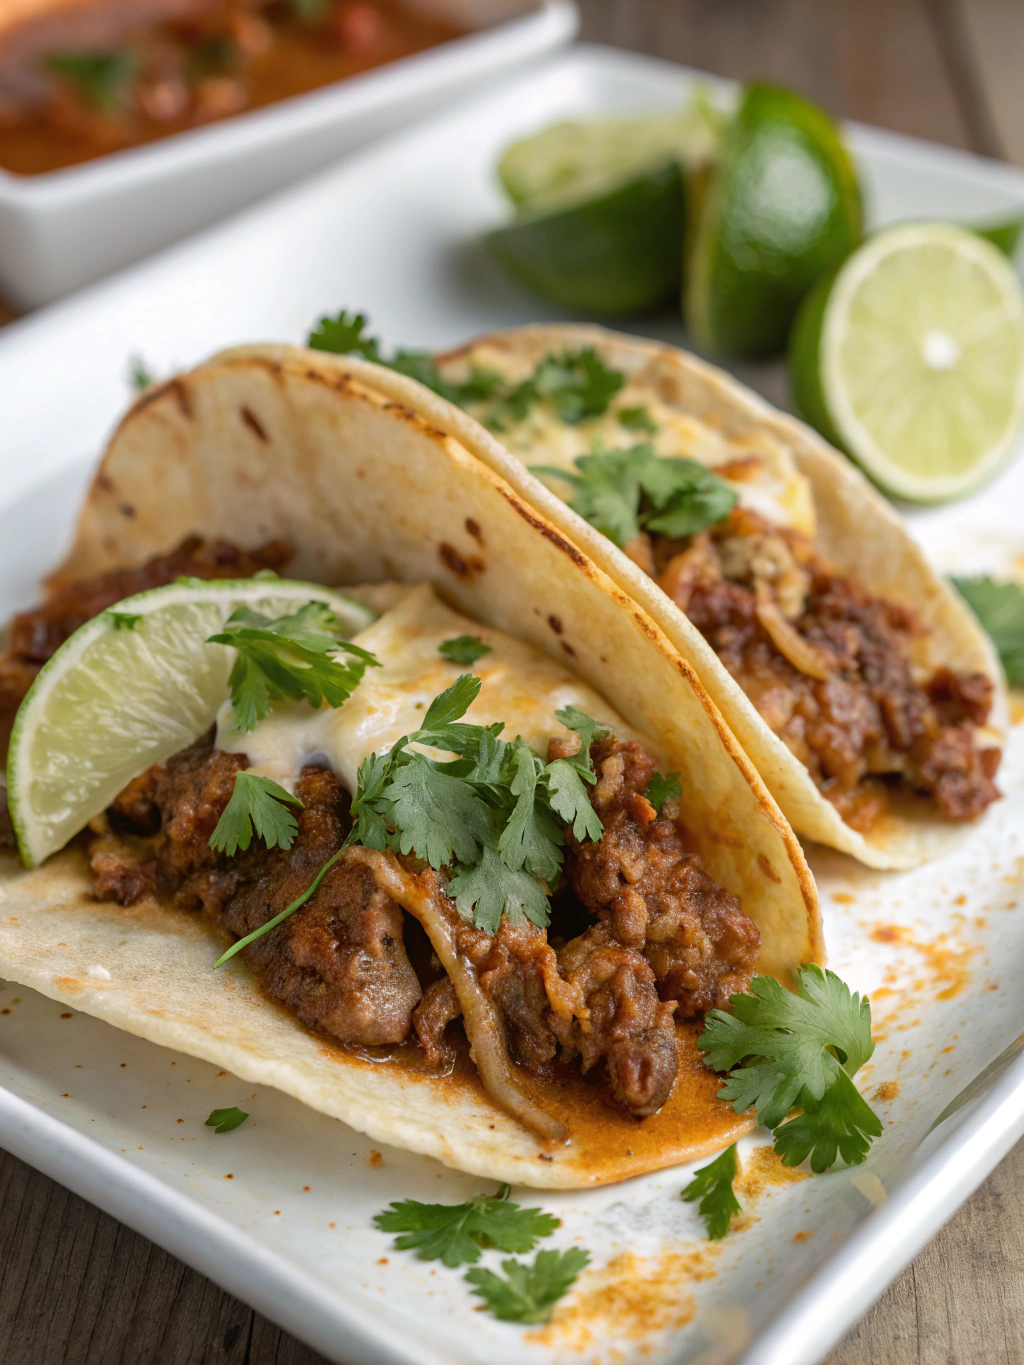
Step 7: Serve and Garnish
Place your crispy Birria Quesa Tacos on a serving plate. Serve with small bowls of the birria consomé for dipping, along with diced onions, chopped cilantro, and lime wedges. The contrast between the crispy exterior and the juicy interior creates a truly unforgettable taco experience.
Nutritional Information
Per serving (2 tacos):
Calories: 450
Protein: 28g
Carbohydrates: 22g
Fat: 27g (9g saturated)
Fiber: 3g
Sodium: 680mg
These tacos provide an excellent source of protein, with each serving delivering approximately 56% of an average adult’s daily protein needs. The combination of meat and cheese makes this a protein-rich meal that will keep you satisfied for hours.
Healthier Alternatives for the Recipe
While traditional birria uses beef, you can substitute with chicken thighs or turkey for a leaner protein option that reduces the fat content by nearly 40% while maintaining rich flavor. Just reduce the cooking time to about 1.5 hours.
For a lower-carb version, use lettuce wraps instead of corn tortillas or opt for low-carb tortillas. This simple swap can reduce the carbohydrate content by up to 15g per serving.
Consider using reduced-fat cheese or reducing the cheese quantity by half. The consomé provides so much flavor that you won’t miss the extra cheese, and you’ll cut approximately 5g of fat per taco.
For those monitoring sodium intake, use low-sodium beef broth and adjust salt levels accordingly. This modification can reduce sodium content by approximately 200mg per serving.
Serving Suggestions
Create a DIY taco bar by serving the components separately: warm consomé in small cups, crispy tacos, and various toppings. This interactive dining experience is perfect for gatherings and allows everyone to customize their meal.
Complement your birria tacos with a light, refreshing side like a simple cabbage slaw dressed with lime juice and a touch of honey. The acidity cuts through the richness of the tacos beautifully.
For an authentic Mexican feast, serve alongside Mexican rice and refried beans. The combination creates a balanced meal with complementary flavors and textures.
Consider serving with a cold Mexican beer or a tangy hibiscus tea (agua de jamaica) for the perfect beverage pairing that enhances the spicy, rich flavors of the dish.
Common Mistakes to Avoid
- Rushing the cooking process: The magic of birria happens with low, slow cooking. Rushing will result in tough meat that lacks the signature melt-in-your-mouth texture.
- Skipping the searing step: Browning the meat creates a depth of flavor through the Maillard reaction. This step contributes approximately 30% of the final flavor profile.
- Not skimming the fat: While some fat is essential for dipping the tortillas, too much can make the tacos greasy. Skim excess fat from the top of the consomé before using.
- Overfilling the tacos: About 2-3 tablespoons of filling is ideal. Overstuffed tacos will leak and fall apart during cooking.
- Using cold tortillas: Cold tortillas crack easily. Ensure they’re at room temperature or slightly warmed before dipping in the consomé.
Storing Tips for the Recipe
The birria meat and consomé can be refrigerated separately in airtight containers for up to 4 days. The flavors actually improve after a day as the spices continue to meld together.
For longer storage, freeze the meat in the consomé for up to 3 months. This method preserves moisture and flavor, making it perfect for meal prep. Thaw overnight in the refrigerator before reheating.
When reheating, warm the meat and consomé together over low heat to maintain tenderness. Adding a splash of water or broth prevents it from becoming too concentrated.
Pre-assembled tacos don’t store well, as they become soggy. Instead, store components separately and assemble fresh tacos when ready to eat for that perfect crispy-meets-juicy texture.
Conclusion
Mastering these authentic Birria Quesa Tacos brings a piece of Mexican culinary tradition into your home. The combination of tender, flavorful meat, rich consomé, and crispy, cheesy tortillas creates a truly memorable dining experience that’s worth every minute of preparation.
What makes this recipe special is its versatility—perfect for weekend family meals, special occasions, or meal prep for busy weekdays. The complex flavors might seem intimidating, but the process is surprisingly straightforward.
Have you tried making birria tacos at home? I’d love to hear about your experience in the comments below! Share your tips, variations, or questions—and don’t forget to tag us in your taco creations on social media. Happy cooking!